


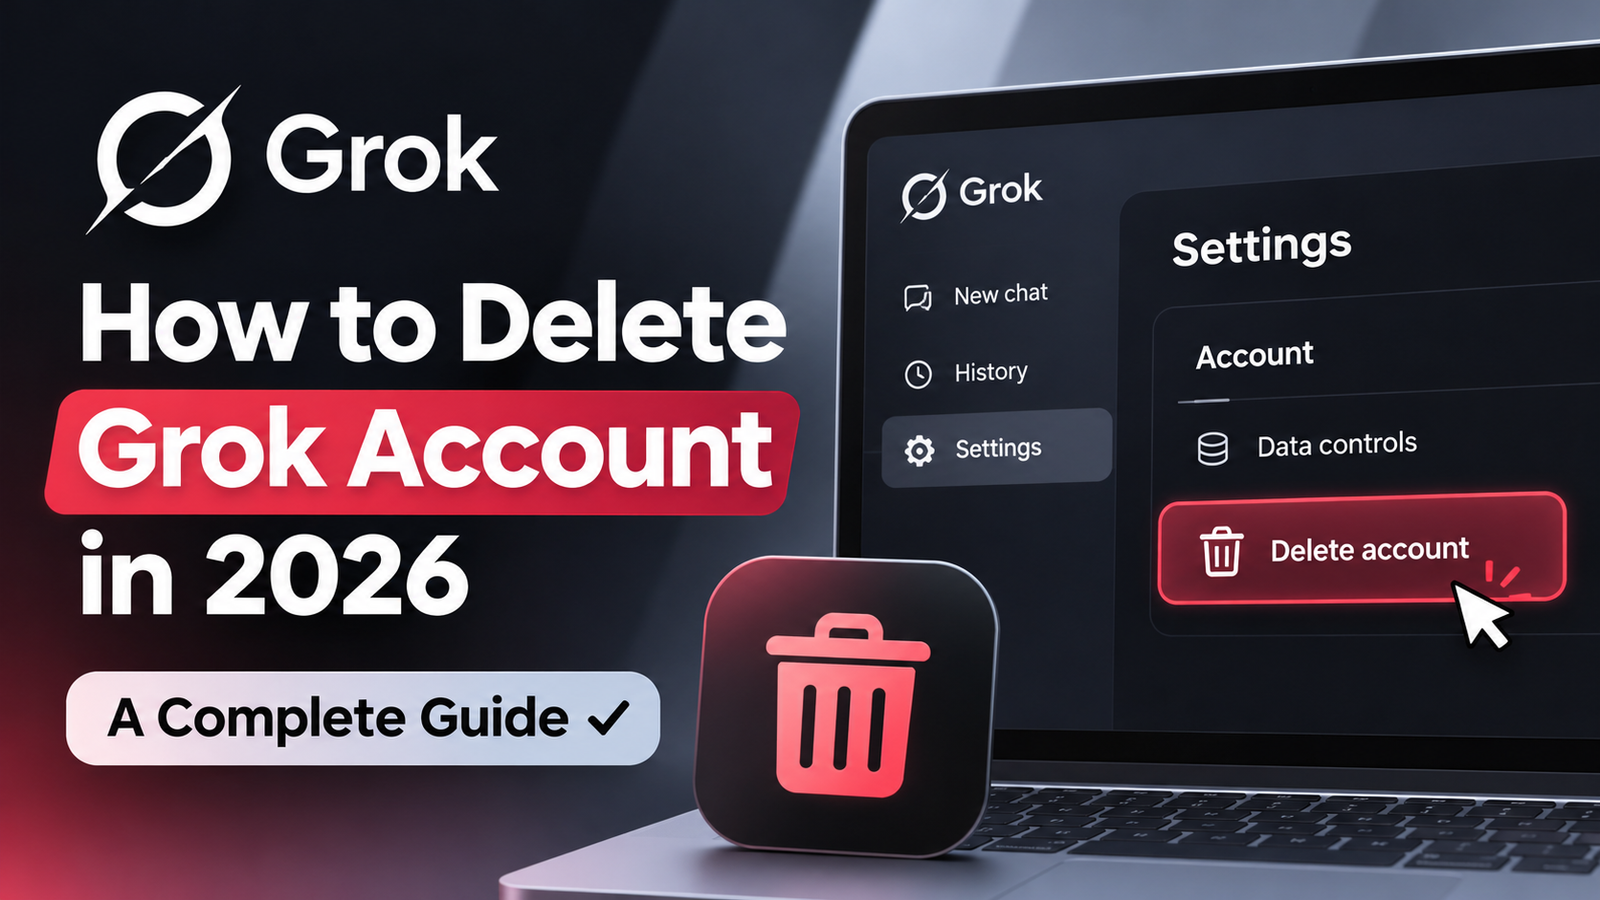
If you no longer want to use Grok, deleting your account is a straightforward process, but the correct steps depend on how you access the AI assistant. Grok is available through its dedicated website and mobile apps, as well as through X, formerly known as Twitter. These access methods have different account management options, so choosing the right one is important.
This guide explains how to delete Grok account information, remove your conversation history, and understand what happens to your personal data after deletion. It also covers subscription management, account recovery, and privacy settings you should review before leaving. The instructions reflect information available as of November 2026. One important distinction is that deleting a standalone Grok account is different from deactivating your X account. Following the appropriate process can help you avoid deleting an account you still need while making an informed decision about your data.
How to Delete a Grok Account: Quick Answer
The fastest method depends on where you use Grok.
- Grok website: Sign in to Grok, open Settings, and locate the account deletion option.
- Grok mobile app: Open your profile, access Settings, find the account or data controls, and select Delete Account.
- Grok through X: Manage your X account separately if you want to leave the platform completely. You can also delete your Grok conversation history without deleting your X account.
Grok’s official documentation explains that standalone users can delete their accounts through the website or mobile app. Account and conversation deletion can take up to 30 days, subject to applicable legal, safety, and security exceptions.
Before proceeding, identify whether you have a standalone Grok account or use Grok exclusively through X. This determines which instructions you should follow.

1. How to Delete a Grok Account on the Website
If you use Grok through a web browser, you can start the deletion process from the official Grok website.
Step-by-step instructions
Step 1: Open Grok
Visit the Grok website and sign in using the account you want to delete.
Official Website: Grok.com
Step 2: Open Settings
Click your profile icon and look for Settings. The exact placement of account controls may vary depending on the website’s current interface.
Step 3: Find the account deletion option
Open the relevant account or data controls section. Look for the option to delete your account rather than simply deleting individual conversations.
Step 4: Confirm your decision
Follow the on-screen instructions to confirm the deletion request. Read any confirmation message carefully before proceeding.
Step 5: Allow time for deletion
According to Grok’s published guidance, account and conversation deletion can take up to 30 days. Certain information may be retained longer when required for legal, safety, or security reasons.
Once you submit the request, follow any confirmation instructions displayed on the website. Do not assume that deleting your browser history or uninstalling the website shortcut will delete your account.
Important: If you use the same xAI account for developer API access, deleting that account can also affect your API access. Review any applications, integrations, or development projects that depend on it before proceeding.
How to Delete a Grok Account on Android or iPhone
Grok also offers dedicated mobile apps. If you primarily use Grok on your phone, you can initiate account deletion through the app’s settings.
The exact menu labels may differ between app versions, so use the following general process.
- Open the Grok app on your Android phone or iPhone.
- Tap your profile picture to access your account.
- Open Settings.
- Locate the account or data controls.
- Select Delete Account.
- Review the confirmation message and follow the instructions to submit your request.
Grok’s official consumer guidance documents an account deletion option in the mobile app. If you cannot find it, update the app and check the latest settings available for your account. You can also try the website method described above.
What if you only want to remove conversations?
Deleting your entire account may be unnecessary if your primary concern is privacy or a cluttered conversation history.
Grok provides separate options for deleting individual conversations and clearing conversation history. On the mobile app, its documented process is to open your conversation history, press and hold the conversation you want to remove, and select Delete Conversation.
To clear your entire conversation history, open Settings → Data Controls → Delete All Conversations, following the available prompts.
This distinction matters: deleting conversations removes selected content, while deleting the account is a broader action.
How to Delete Grok When You Use It Through X
Many people access Grok directly through X rather than creating or using a separate account on Grok’s website.
If that describes your situation, you should distinguish between three different actions:
- Deleting Grok conversations: Removes your saved Grok conversation history.
- Changing Grok privacy settings: Controls certain uses of your interactions and data.
- Deleting your X account: Starts the process of permanently closing your X account.
You do not need to delete your X account simply to remove your Grok conversations.
Steps to delete Grok conversation history on X
X provides privacy controls for managing Grok interactions.
- Open X and sign in.
- Go to Settings and privacy.
- Select Privacy & Safety.
- Open Data sharing and personalization.
- Select Grok.
- Find Delete Conversation History.
- Confirm that you want to delete your interactions, inputs, and results.
The exact labels may change as X updates its interface.
X states that deleted Grok conversations are removed from its systems within 30 days, except where retention is necessary for security or legal reasons.
How to delete your entire X account
If you want to stop using X as well as Grok, you can begin the account closure process separately.
According to X’s account management instructions:
- Open Settings and privacy.
- Select Your account.
- Choose Deactivate your account.
- Review the information displayed.
- Enter your password if requested.
- Confirm the deactivation.
X uses a 30-day deactivation period before permanent deletion. Logging in during that period can reactivate your account. If you want the account to be deleted, avoid signing in during the deactivation period.
Remember that deactivating X and deleting a standalone xAI account are different procedures. Choose the one that matches the account you actually want to close.
What Happens to Your Data After Deleting Grok?
Account deletion is not necessarily the same as immediate erasure of every copy of your information.
Grok’s published privacy guidance explains that deleted account data is generally scheduled for removal from its systems within 30 days, subject to legal, compliance, and safety exceptions. The company may retain certain information when it has a lawful reason to do so.
Here is what you should understand before submitting a deletion request.
Your saved conversations
Deleting your account or conversation history initiates the applicable deletion process. However, you should not assume that every record disappears immediately when you click the confirmation button.
Your personal information
Grok processes information under its privacy policy. The information involved may include account details, usage data, and content associated with your interactions.
The precise information retained depends on the service, settings, and applicable circumstances.
Your public posts on X
Deleting Grok conversations does not delete your public posts on X. Likewise, changing Grok’s privacy settings does not automatically remove existing posts.
If you want to remove your public content, you must manage it separately through X.
Your data and AI model training
Deleting your account and opting out of model training are different actions.
If you use Grok through X, its privacy settings include a control for whether your public data and interactions with Grok and xAI can be used for training and fine-tuning. You can turn this option off while continuing to use Grok.
If your main concern is how your information is used, review the applicable privacy controls before deciding whether full account deletion is necessary.
Should You Delete Your Grok Account or Just Turn Off Data Sharing?
Not everyone who has privacy concerns needs to leave Grok completely. The right option depends on what you want to accomplish.
| Your goal | Recommended action |
|---|---|
| Stop using Grok permanently | Delete your standalone Grok account or close the relevant account through X. |
| Remove old AI conversations | Delete individual conversations or clear your conversation history. |
| Reduce the use of your data for AI training | Review and disable the relevant training and data-sharing controls. |
| Keep X but stop using Grok | Remove Grok conversations and adjust the available privacy settings. |
| Leave X and stop using Grok there | Deactivate your X account and allow the 30-day period to expire without logging in. |
| Remove personal information from Grok systems | Submit the appropriate deletion request or use the available privacy-request process. |
These actions are not interchangeable. For example, turning off training-related data sharing does not delete your account, and clearing conversation history does not close your X profile.
For users who want to remain on X but reduce their exposure, changing privacy settings may be sufficient. Those who want to stop using Grok entirely should follow the appropriate account deletion process.
What to Check Before Deleting Your Grok Account
Before confirming deletion, spend a few minutes reviewing the services and information connected to your account. This can prevent avoidable problems later.
Cancel or review active subscriptions
If you pay for Grok, check how the subscription was purchased.
Depending on your purchase method, billing may be managed through Grok’s website, the Apple App Store, or Google Play.
Do not assume that deleting your account automatically cancels every subscription. Check the billing settings and confirm that the subscription is canceled through the appropriate provider.
If you use Grok through an X subscription, review that subscription separately. X subscription cancellation also depends on where the subscription was purchased.
Save anything you need
If you have useful research, writing, coding assistance, or other information in your Grok conversations, save the material you want to keep before deleting it.
For example, a developer might have a conversation explaining a bug fix, while a student might have notes from a study session. Once you delete the relevant content, you should not rely on being able to recover it.
Review linked accounts and integrations
If you use your xAI account for API access, check whether any applications depend on it. Deleting the account may interrupt those integrations.
You should also consider whether you sign in to other services through the same account and whether those services require separate changes.
Check which account you are using
Some people have both an X account and a separate xAI account. Others use Grok exclusively through X.
Confirm which account is signed in before making changes. Otherwise, you could delete the wrong account or leave the account you intended to close untouched.
Can You Recover a Deleted Grok Account?
Account recovery depends on which account you deleted.
For standalone Grok and xAI accounts, the published documentation states that you can restore an account within 30 days by logging in again and confirming restoration.
X has a separate recovery process. Its 30-day deactivation period allows you to reactivate your account by logging in before the period expires.
There are two important limitations:
- The recovery process differs: Restoring an xAI account is not the same as reactivating an X account.
- Data recovery is not guaranteed: Restoring account access does not necessarily mean deleted conversations or other information will be recoverable.
If you are uncertain about leaving permanently, consider whether removing selected conversations or changing your privacy settings would solve the problem without requiring account deletion.
Common Problems When Deleting a Grok Account
Sometimes the deletion option is difficult to find, or the account does not close as expected. The following solutions address common situations.
The Delete Account option is missing
Check whether you are using Grok’s standalone website, its mobile app, or Grok through X. Each service has different account controls.
If the option remains unavailable, consult the official documentation or contact the relevant support team.
You cannot sign in
Try the account recovery process for the service you use. If you have forgotten your password, use the official password reset option.
For an account that may have been compromised, contact the appropriate support team rather than assuming that reinstalling the app will resolve the problem.
You want to delete your account but keep your subscription active
Account deletion and subscription management are separate concerns. Review your billing provider’s cancellation procedure before closing your account to avoid unexpected charges or confusion about the status of your subscription.
Your data has not disappeared immediately
Grok’s published policy allows up to 30 days for deletion from its systems, subject to applicable exceptions. If the expected period has passed and you remain concerned, contact the company’s privacy support team and ask about your deletion request.
Frequently Asked Questions
1. How do I delete my Grok account permanently?
Sign in to Grok, open Settings, and select the account deletion option. If you use Grok through X, manage your account through the appropriate X settings instead.
2. Does deleting Grok delete my X account?
No. Deleting a standalone Grok account and deleting an X account are separate actions. If you use Grok through X, you can delete your Grok conversation history without closing your X account.
3. How long does Grok take to delete my data?
Grok states that account and conversation deletion can take up to 30 days. Some information may be retained longer for legal, compliance, or safety reasons.
4. Can I delete Grok conversations without deleting my account?
Yes. Grok provides options to delete individual conversations or clear your conversation history without deleting your entire account.
5. Can I recover my Grok account after deletion?
The published documentation allows account restoration within 30 days for standalone xAI accounts. Recovery procedures and conditions differ for X accounts.
6. Does deleting Grok cancel my subscription?
Do not assume that it does. Check your subscription status and cancel through the appropriate billing provider, such as the Grok website, Apple App Store, or Google Play.
7. Can I stop Grok from using my data for AI training without deleting my account?
Yes. If you use Grok through X, you can turn off the relevant training and data-sharing option in your privacy settings while continuing to use Grok. Available controls depend on the service you use.
Conclusion
Learning how to delete Grok account information starts with identifying where you use the service. If you use the standalone Grok website or mobile app, you can initiate account deletion through its settings. If you access Grok through X, you can remove your conversation history, change privacy settings, or deactivate your X account, depending on your goal.
Before proceeding, review your active subscriptions, save any important conversations, and check whether your account supports other services such as API access. Remember that data deletion can take up to 30 days and that certain information may be retained for legitimate legal or safety reasons.
If your main concern is privacy rather than leaving Grok entirely, reviewing the available data-sharing controls may be a more suitable first step. Choose the option that matches your needs and confirm the result through the appropriate official account settings.











1 comment on “How to Delete Grok Account in 2026: A Complete Guide”